为什么要使用多个StoryBoard
StoryBoard 给项目带了很大的方便,在一个视图里可以看到整个项目页面之间的关系,但是如果项目所有的页面都放到一个StoryBoard, 会带来以下一些问题
- UIStoryBoard太大
- 每次打开StoryBoard比较慢
- 一个窗口里面显示所有的View,显得比较混乱,尤其是一个显示器看不全的时候
- UIStoryBoard 项目解决源码冲突太麻烦
所以,我建议项目使用多个StoryBoard, 不同模块使用不同的UIStoryBoard, 下面是如何使用的实例。
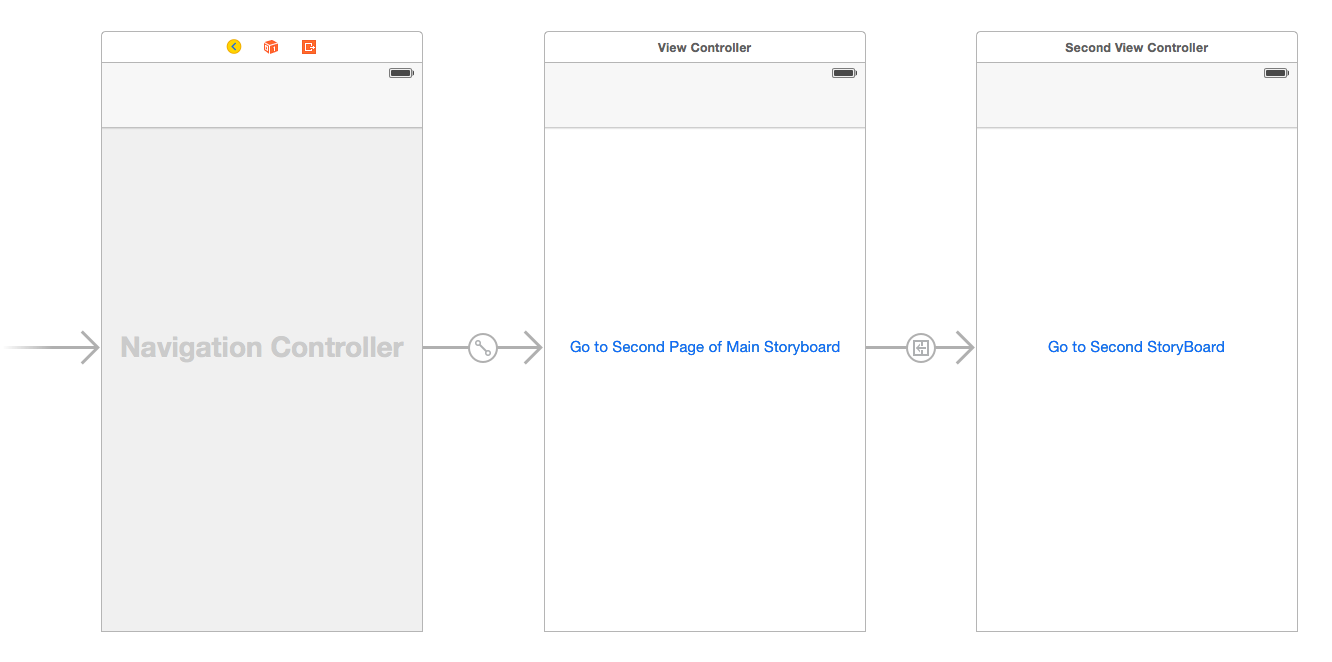
Main Storyboard
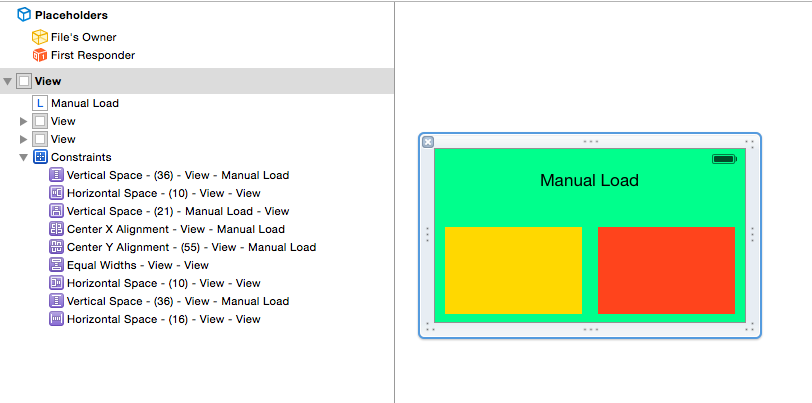
首先建立一个Single View Application, 在StoryBoard里添加2个UIViewController, 并且设置好导航关系
新建一个SecondViewController类, Command+N–>Coca Touch cass–>Next, 继承UIViewController, 选择Swift语言
import UIKit
class SecondViewController: UIViewController {
override func viewDidLoad() {
super.viewDidLoad()
// Do any additional setup after loading the view.
}
override func didReceiveMemoryWarning() {
    super.didReceiveMemoryWarning()
    // Dispose of any resources that can be recreated.
}
}
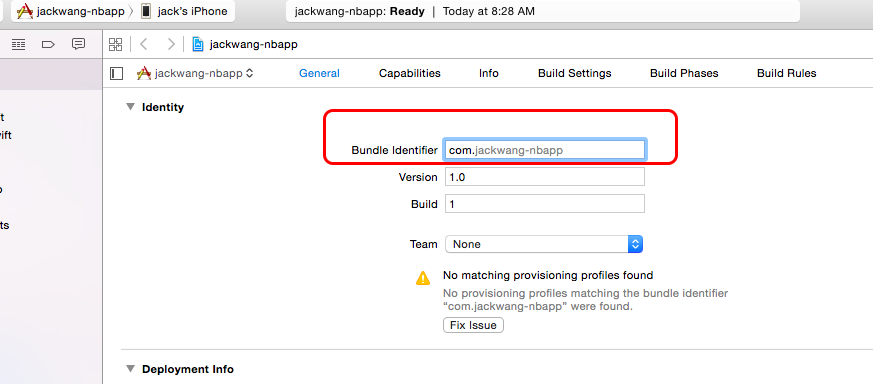
设置第二ViewController的File’s owner 的class为刚新建的SecondViewController
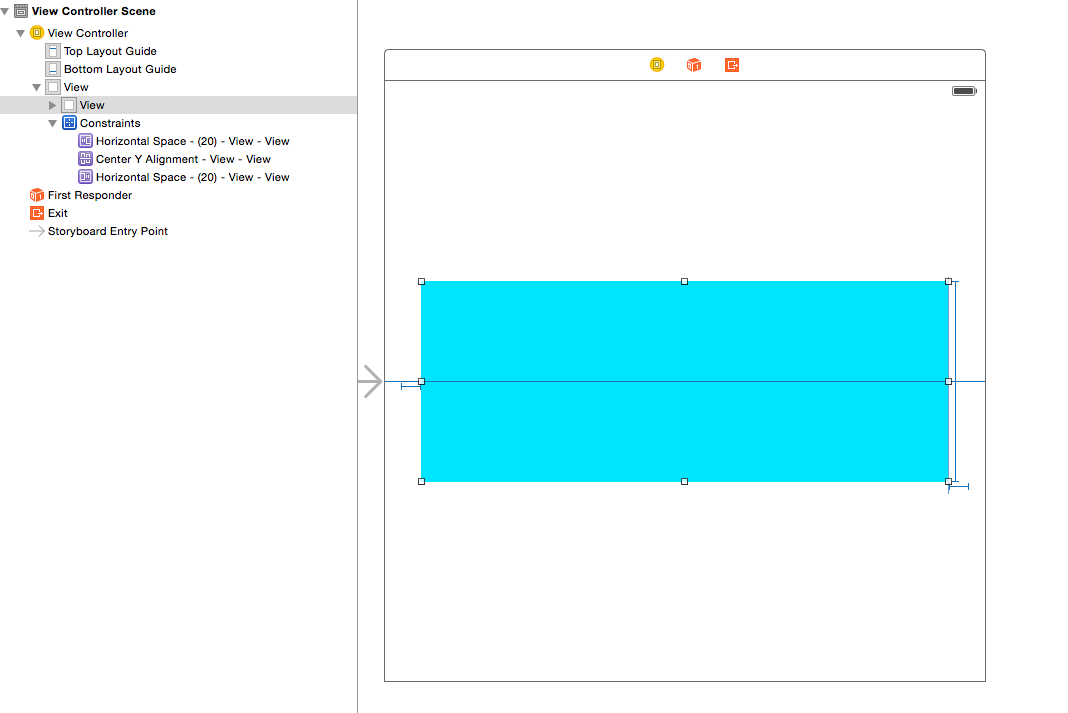
第二个StoryBoard
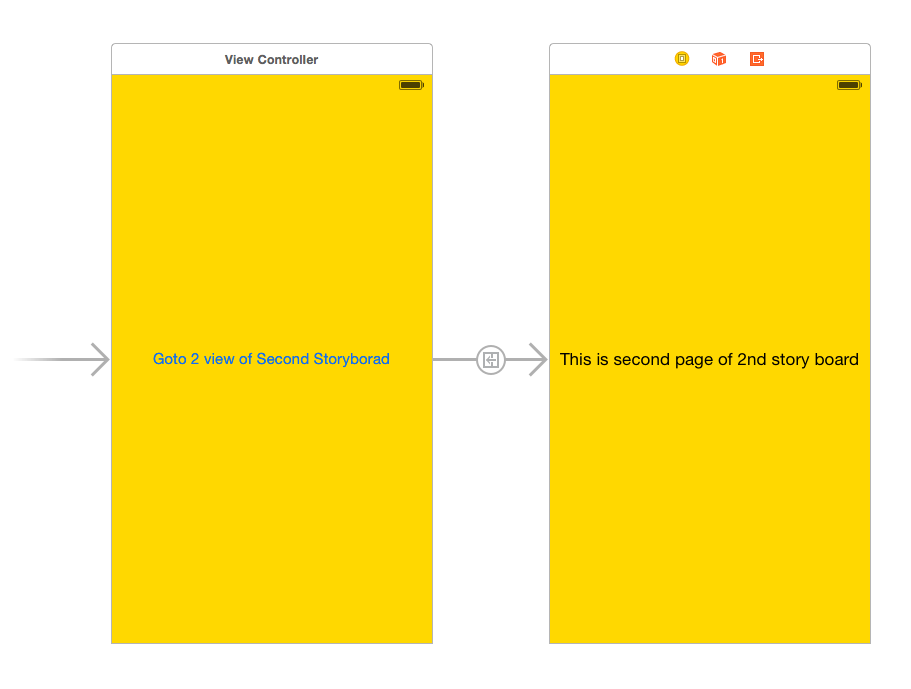
Command+N–>User Interface—>StoryBoard,命名Second
添加2个UIViewController, 并添加对应的按钮,将View的背景色改为黄色,以区别这是第二个UIStoryBoard, 按住Ctrl从第一个ViewController拖到第二个ViewController,选择Show
设置第一个UIViewController如下
<img class=”img-responsive”src=”https://cdn.jsdelivr.net/gh/wangdeshui/blogpics@master/ios/UI/2/3.png" />
连接2个StoryBoard
打开Main.storyboard, 为SecondViewController上的按钮建立一个IBAction, 然后在SecondViewController.swift里添加如下代码
 @IBAction func GotoSecondStoryBoard(sender: AnyObject) {

         let vc = UIStoryboard(name: "Second", bundle: nil).instantiateInitialViewController() as! UIViewController
        self.navigationController?.pushViewController(vc, animated: true)

    }
如果我们不设置Is Intial View Controller, 那么我们需要设置View Controller的StoryBoard Id, 然后使用如下代码
let vc = UIStoryboard(name: "Second", bundle: nil).instantiateViewControllerWithIdentifier("FirstView") as! UIViewController
self.navigationController?.pushViewController(vc, animated: true)
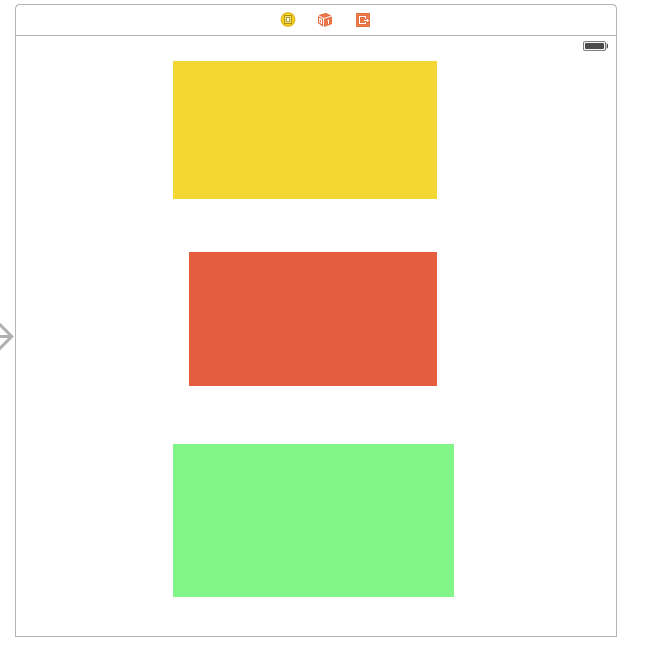
结果图 (Gif)